To Add a URL
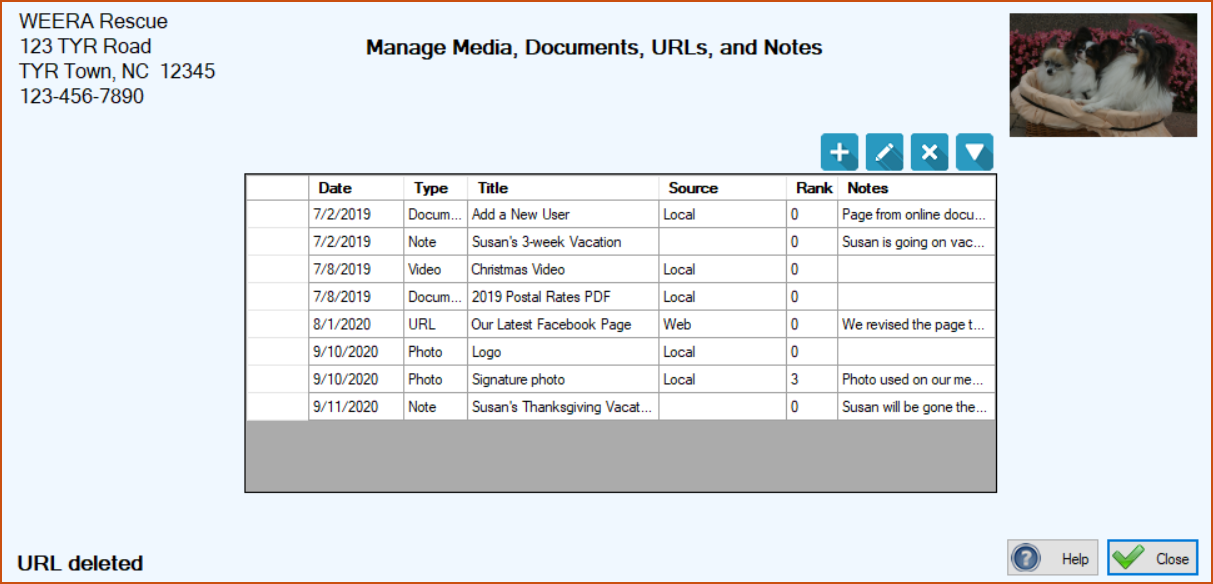
1. On any screen with an “Attachments” selection in the Actions dropdown list at the right side of the screen OR a Photos, Documents, etc. button ( ) at the upper right on the screen, select Attachments or click the Photos, Documents, etc. button () to open the Manage Media, Documents, URLs, and Notes screen.
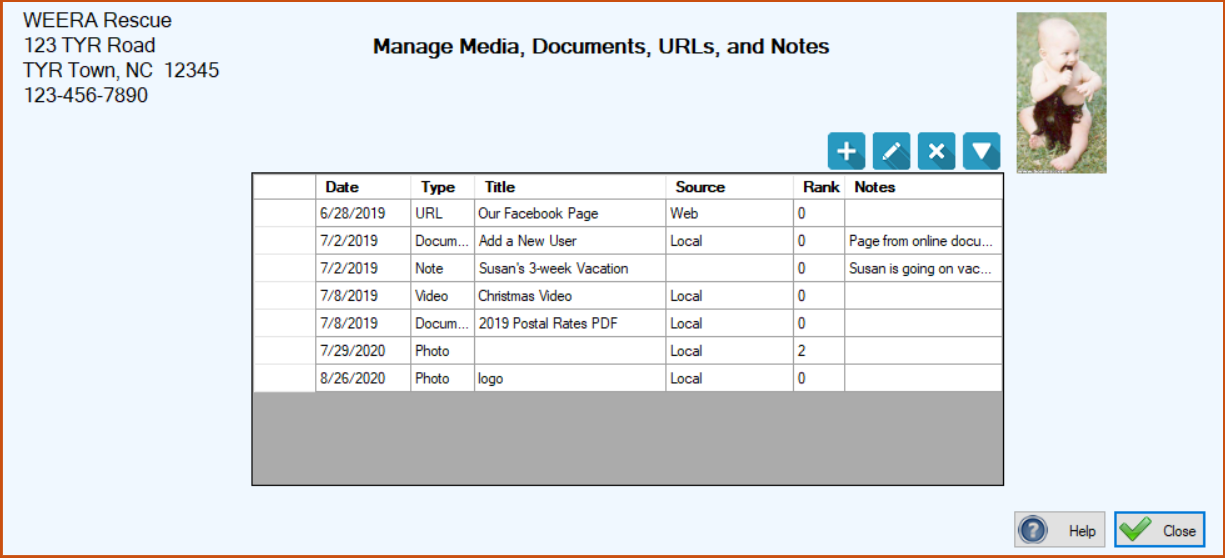
2.Click the Add ( ) button at the upper right. The Media, Document, URL, or Note screen opens.
3.At the top of the screen, select URL only. This action automatically selects the Web URL button and activates the text field next to it, ready for your entry.
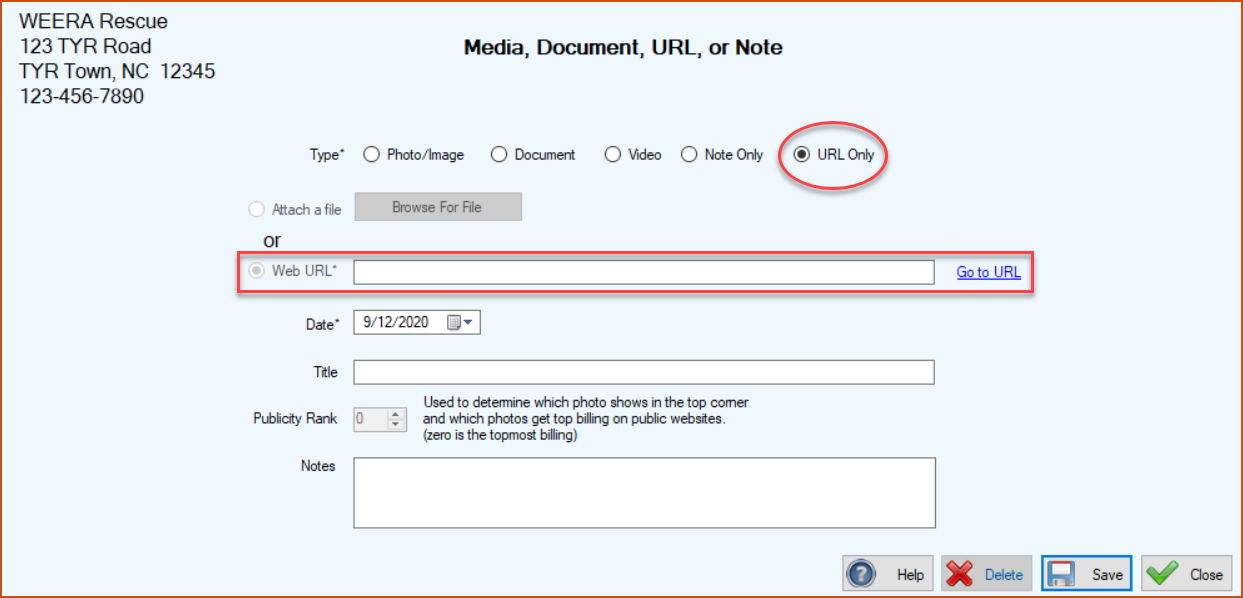
4.Enter the desired URL. You can do this in one of two ways:
|
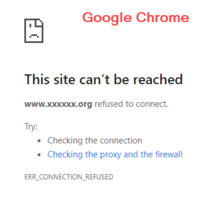
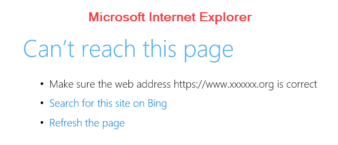
5. Click the “Go to URL” link to the right of the field to make sure the URL is correct. If it is correct, the web page will open in your default web browser. If it is incorrect, your browser will usually give you a “page not found,” “site cannot be reached,” or some other message indicatiing an incorrect URL.
6.Enter a Date for the URL by typing it in or using TTR’s Date Picker. The system defaults to today’s date but you can select any date, e.g., the date the web page was established.
7.Enter a Title for the URL so you can easily identify it in the grid on the Manage Media, Documents, URLs, and Notes screen.
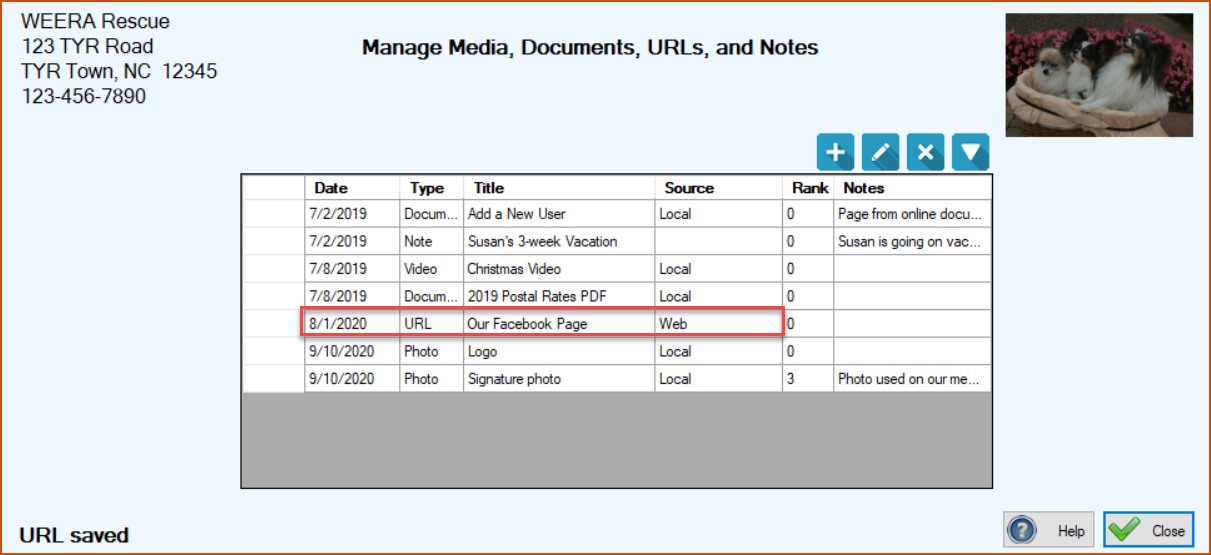
8.When you have confirmed the URL is correct and you’re satisfied with your choice of date and title, click Save. You are returned to the Manage Media, Documents, URLs, and Notes screen where the details about the URL appear in the center grid, along with a confirmation message in the lower left corner of the screen.
To Add a Note
1.Perform Steps 1 and 2 above to arrive at the Media, Document, URL, or Note screen.
2.At the top of the screen, select “Note Only.” This makes only the Date, Title, and Notes fields editable.
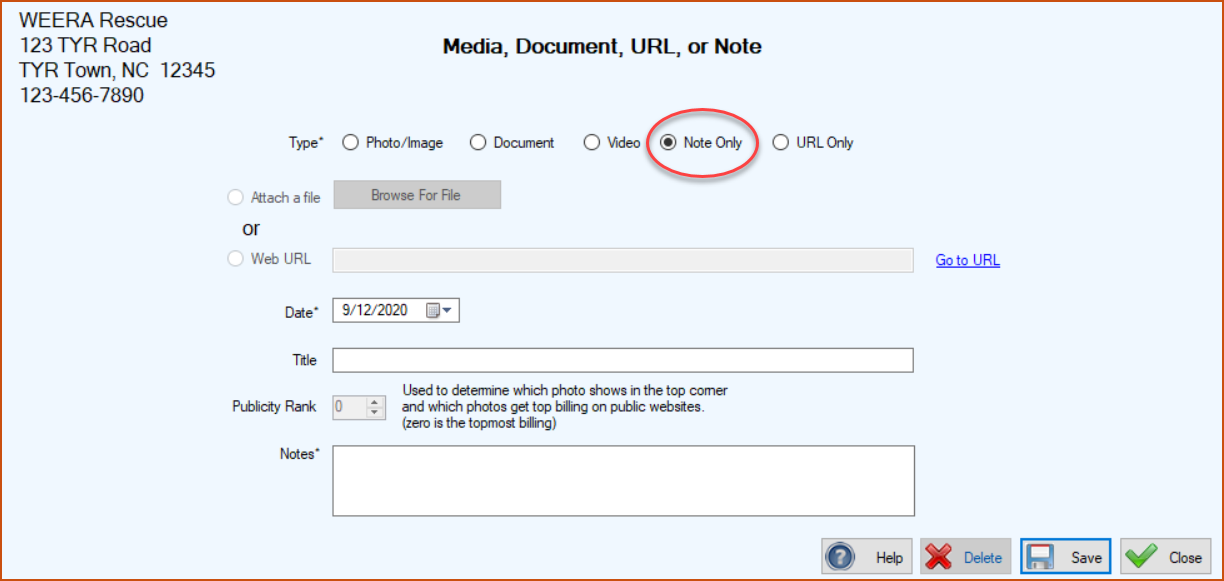
3.Enter a Date for the Note by typing it in or using TTR’s Date Picker. You can use any date, perhaps the date of the entry (today) or the date of the situation described in the note.
4.Enter a Title for the note to clearly describe its purpose or content.
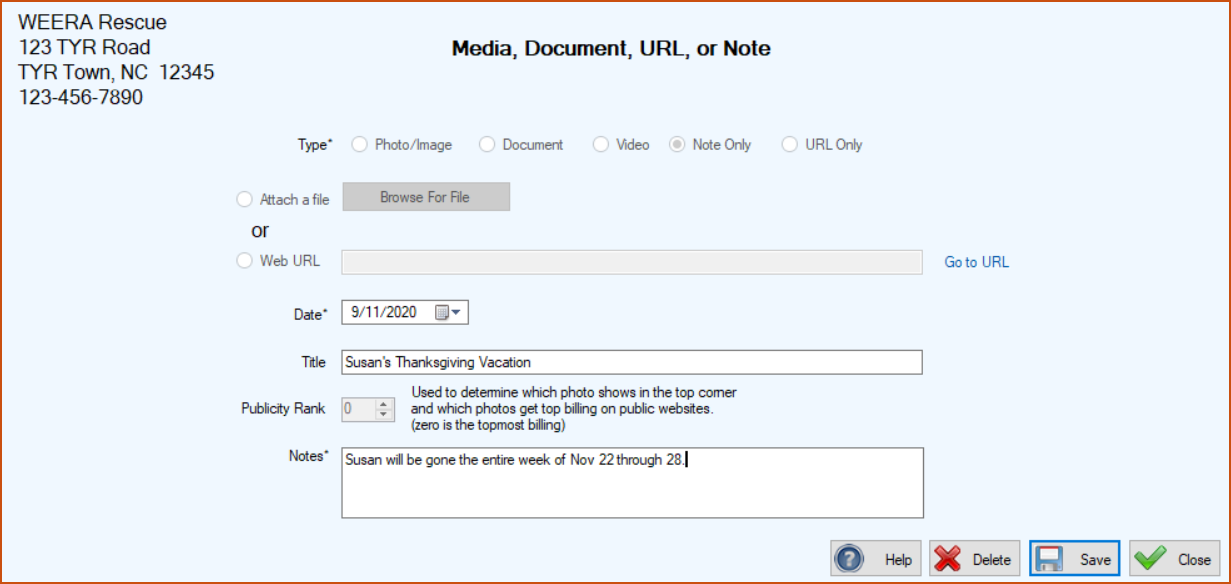
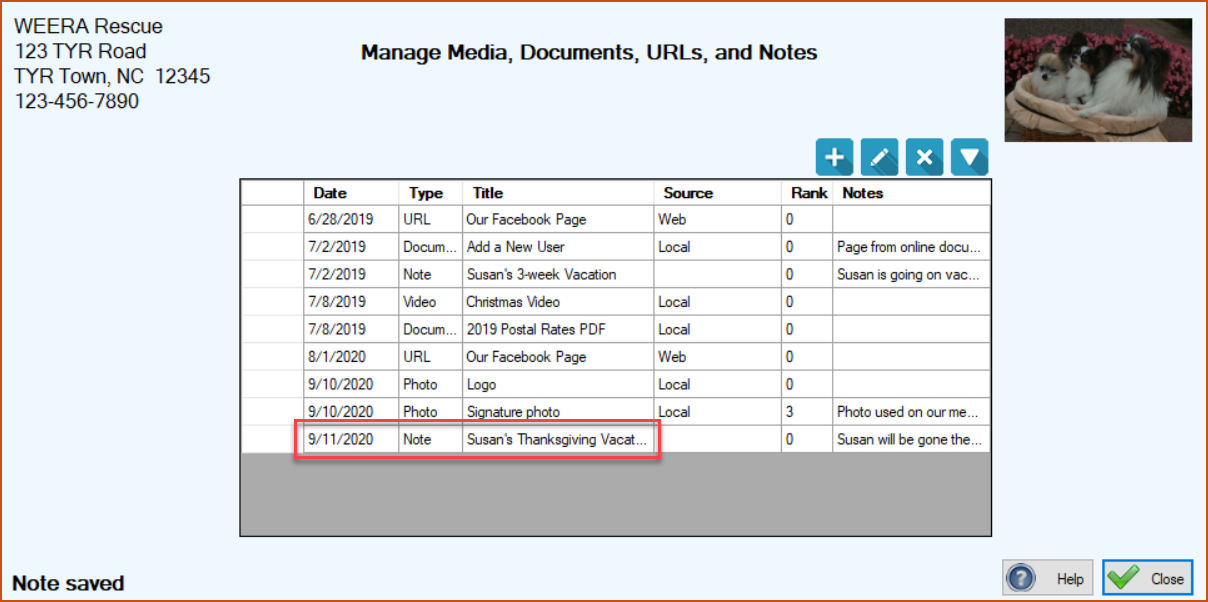
5.Click Save. You are returned to the Manage Media, Documents, URLs, and Notes screen where the details about the note appear in the center grid, along with a confirmation message in the lower left corner of the screen.
Top of page
To Edit a URL or Note
1.On any screen with an “Attachments” selection in the Actions dropdown list at the right side of the screen OR a Photos, Documents, etc. button () at the upper right on the screen, select Attachments or click the Photos, Documents, etc. button () to open the Manage Media, Documents, URLs, and Notes screen.
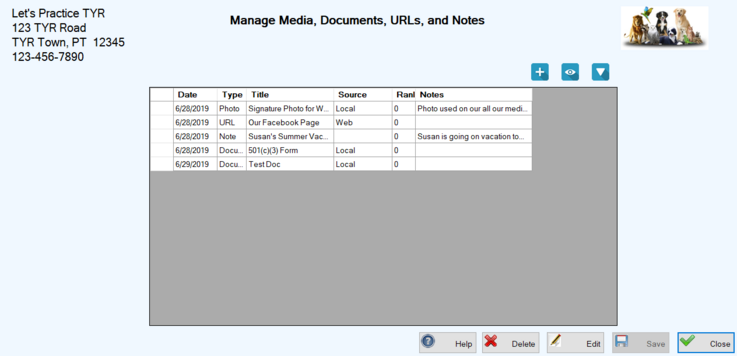
2.Double-click the cell at the far left in the row containing the item you want to edit. The Media, Document, URL, or Note screen opens, ready for you to enter your changes. (Note: Only the fields relevant to the selected item are editable. All others are greyed out.)
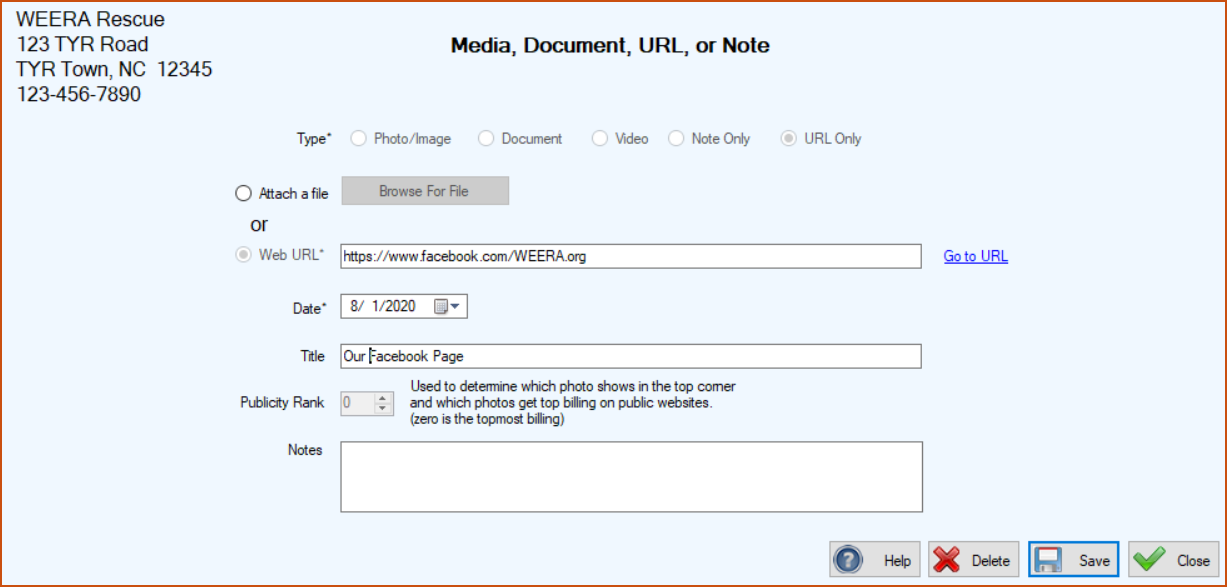
3.Make your desired changes. (Note: If you change a URL, we recommend clicking the “Go to URL” link to test it.)
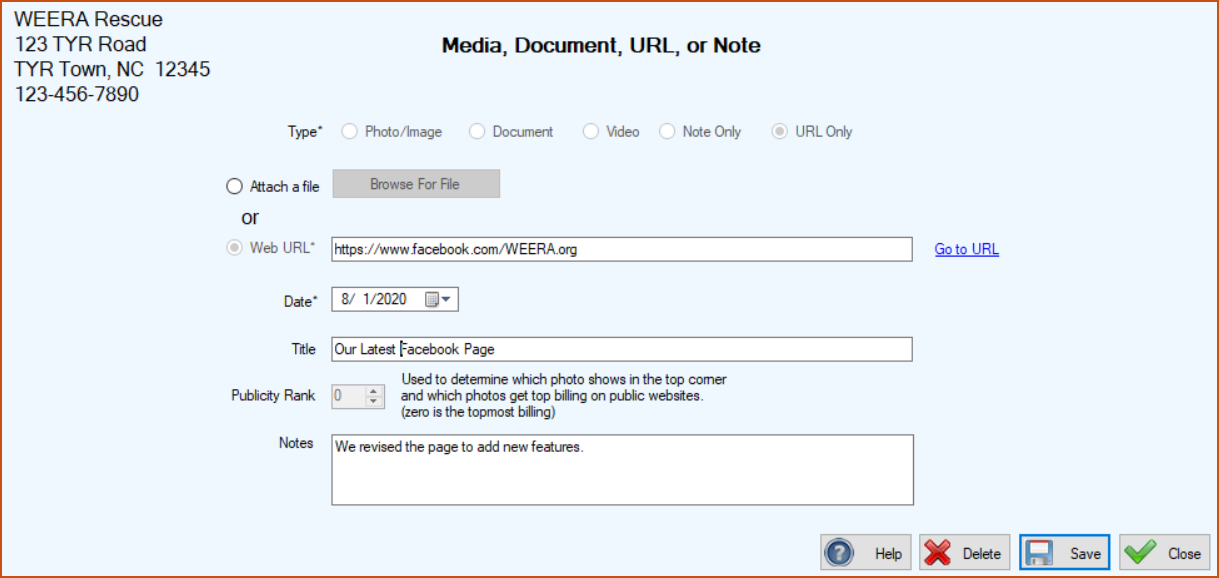
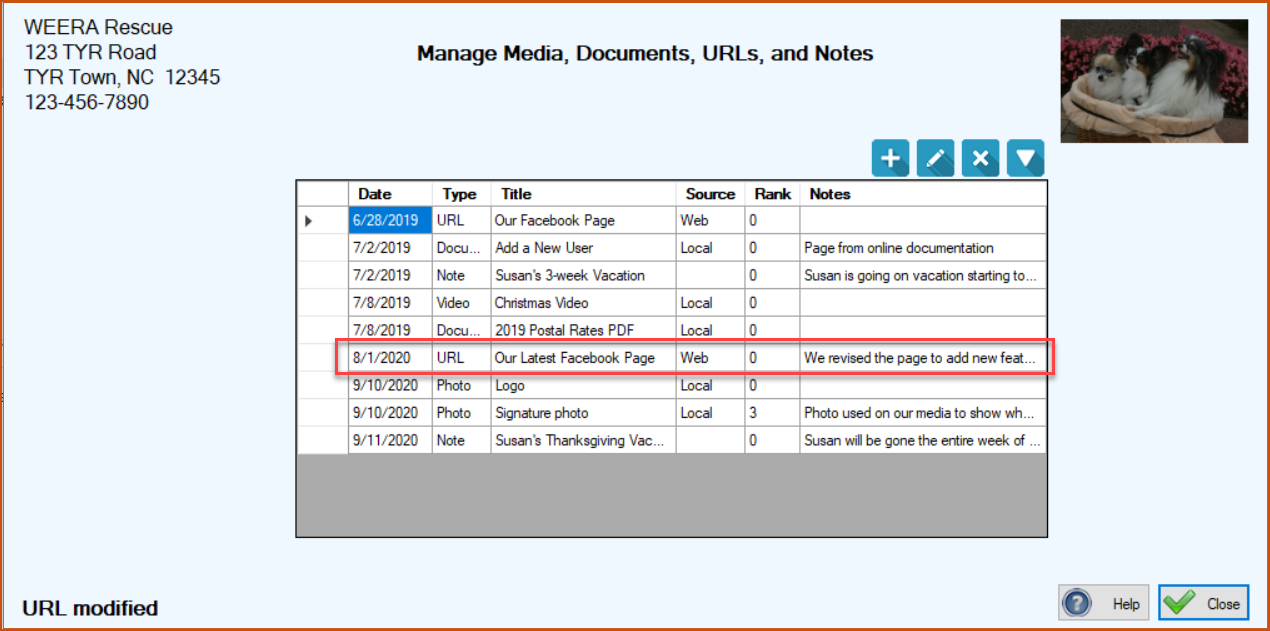
4.Click Save. The screen closes, returning you to the Manage Media, Documents, URLs, and Notes screen where you can see your modifications in the center grid and a confirmation message in the lower left corner.
To Delete a URL or Note
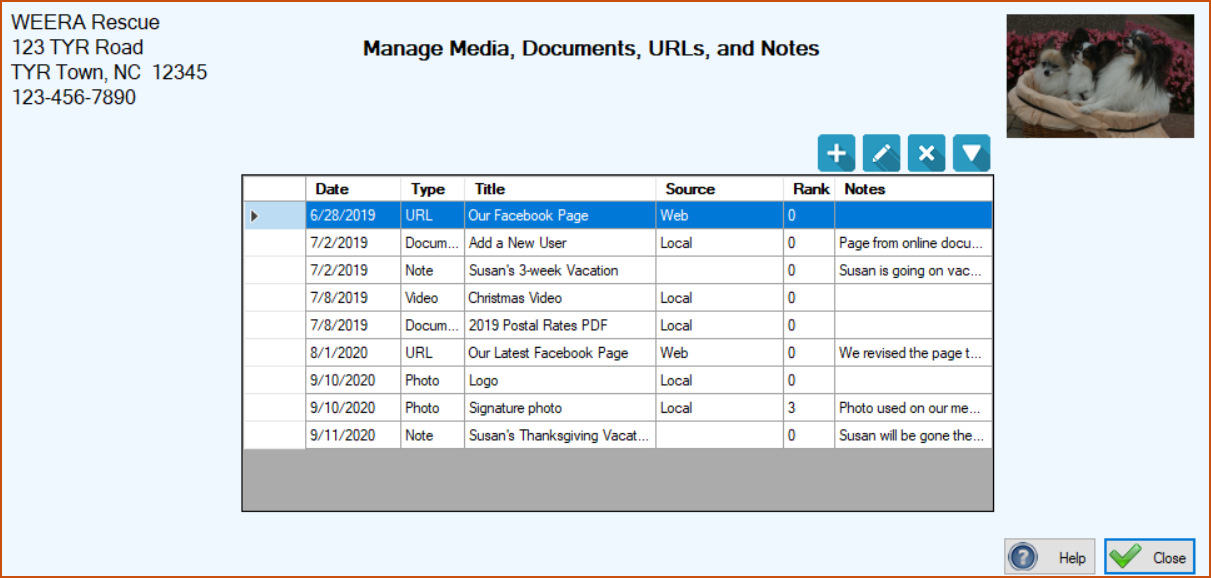
1.Perform Step 1 above to get to the Manage Media, Documents, URLs, and Notes screen.
2.Select the row containing the item you want to delete by clicking the cell at the far left.
 ) button. A popup window appears to verify you really want to delete this item.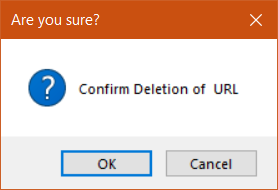
4.To complete the deletion, click OK. You are returned to the Manage Media, Documents, URLs, and Notes screen where the deleted item no longer appears in the center grid, and there is a confirmation message at the lower left.