
To Attach a Document, Image, Photo, or Video File
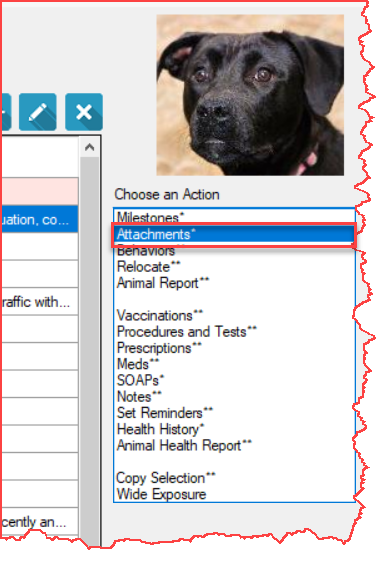
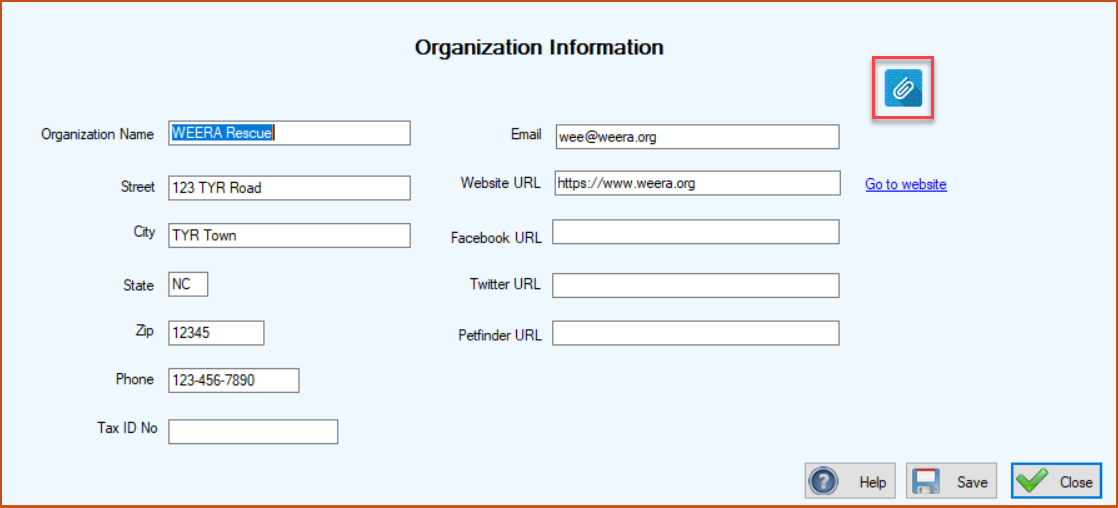
1.On any screen with an “Attachments” selection in the Actions dropdown list at the right side of the screen OR a Photos, Documents, etc. button ( ) at the upper right on the screen, select Attachments or click the Photos, Documents, etc. button ().
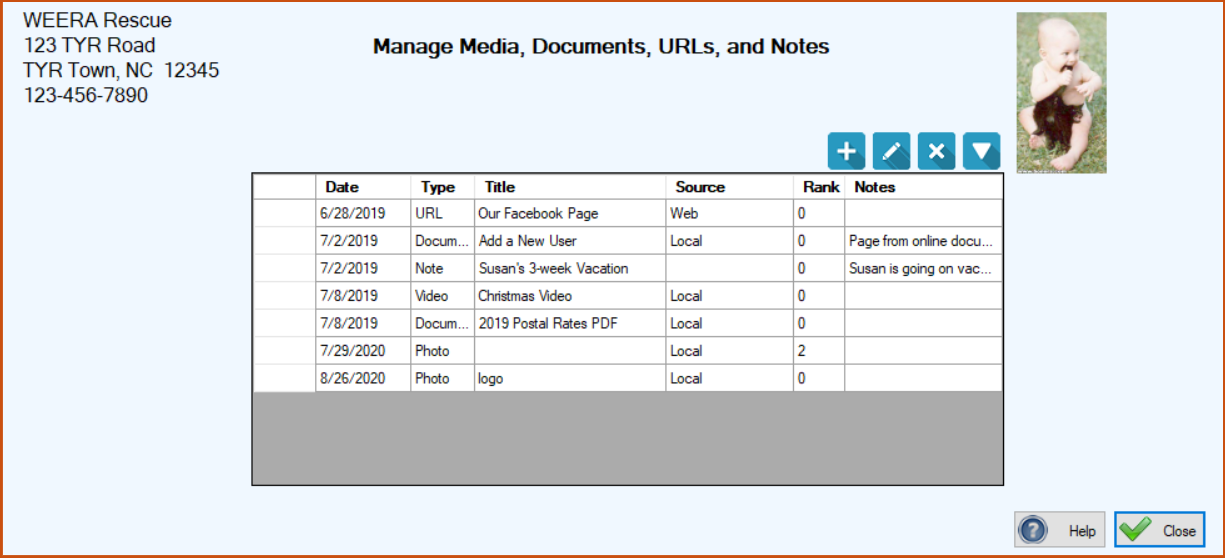
The Manage Media, Document, URLs, and Notes screen opens.
 ) button at the upper right. The Media, Document, URL, or Note screen opens and provides options for selecting the file you want to attach and adding details about it.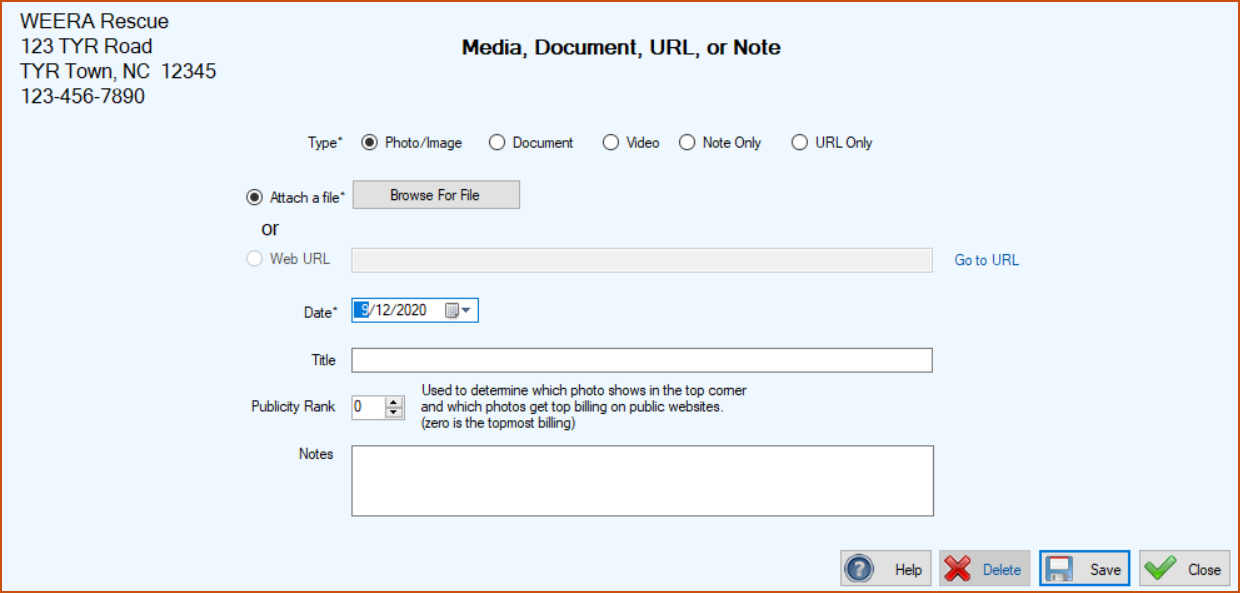
3.At the top of the Media, Document, URL, or Note screen, select the Type of file you want to attach. The system accepts files with these suffixes in the filename (suffix is the dot near the end of the file name plus the three or four letters and/or numbers that follow the dot, and it can be in upper or lower case), up to the indicated maximum file size :
|
Photos and Images:
|
.BMP, .JPG, .JPEG, .GIF, .PNG, .PSD (maximum file size – 10 MB)
|
|
Documents:
|
.PDF, .DOC, .DOCX, .XLS, .XLSX, .PPT (maximum file size – 1000 KB)
|
|
Videos:
|
.MP4, .WMV, .FLV, .MPG, .MPEG, .M2V, .MKV, .AVI, .MOV (maximum file size – 10 MB)
|
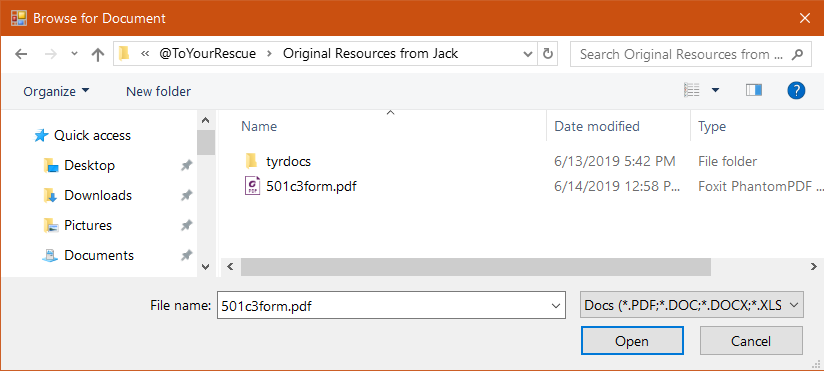
5.Find the file in the “Browse for xxxxx” window and double-click the file name to select it.
When the selection and upload are successful, the “Browse for xxxxx” window closes and in the upper right corner of the Media, Document, URL, or Note screen, you will see either a thumbnail image if the selected file is a photo or the message “Upload successful” if the selected file is a document or video.
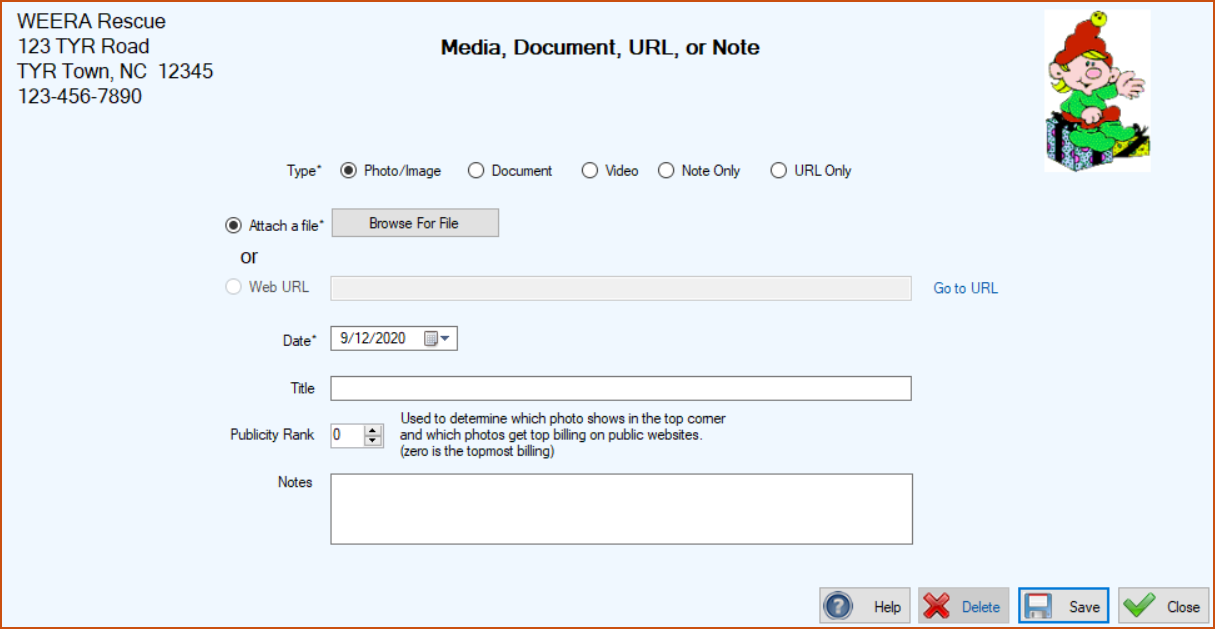
6.In the Date field, enter or select the date the document or image file was created or the photo or video taken, or a close approximation.
7.In the Title field, enter a brief descriptive name for the document or photo. A clear statement of the content and/or purpose of the attachment is very important for future reference, especially if you choose to leave the Notes field blank (see Step #9).
Important Note for a Logo: A title of “Logo” or “logo” is required if you are attaching an image file for your logo, to appear at the upper right corner of the TTR Home screen. Without this exact title, TTR will not recognize the requirement to place the image on the Home screen. Only one photo entitled “Logo” or “logo” can appear at the upper right corner of the screen.
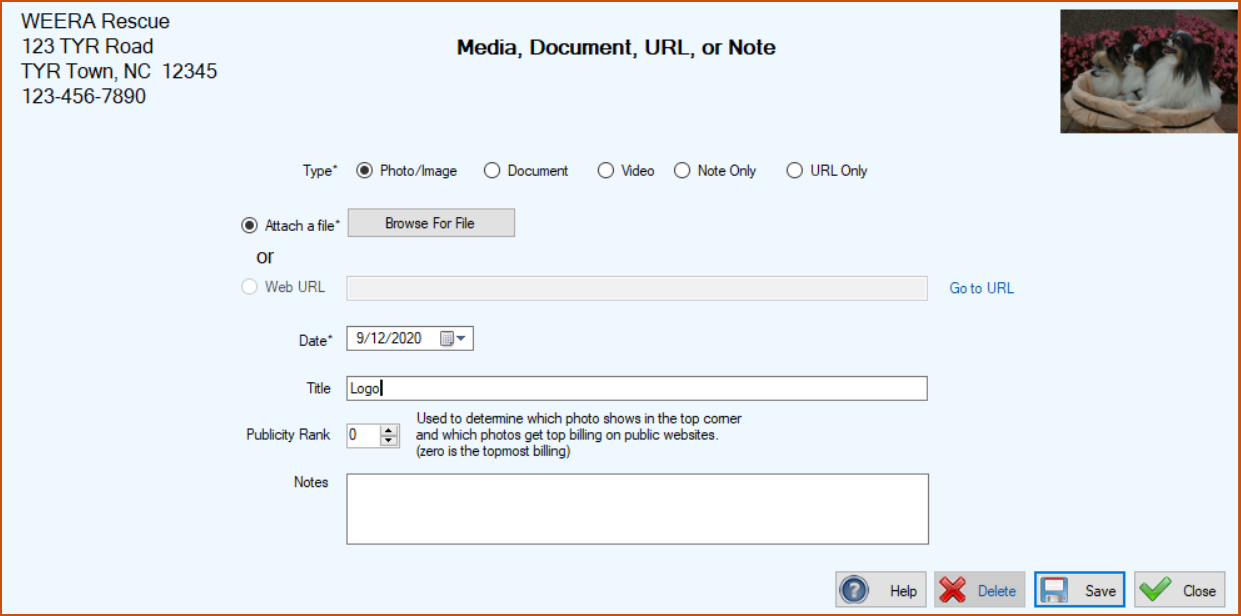
8.If you selected Photo/Image, the Publicity Rank field is editable. Its purpose is to allow you to rank the priority and order in which photos appear on screens and websites when there is more than one photo. Note: A rank of 0 for a photo will direct TTR to place that photo on all TTR screens for that animal or PCO.
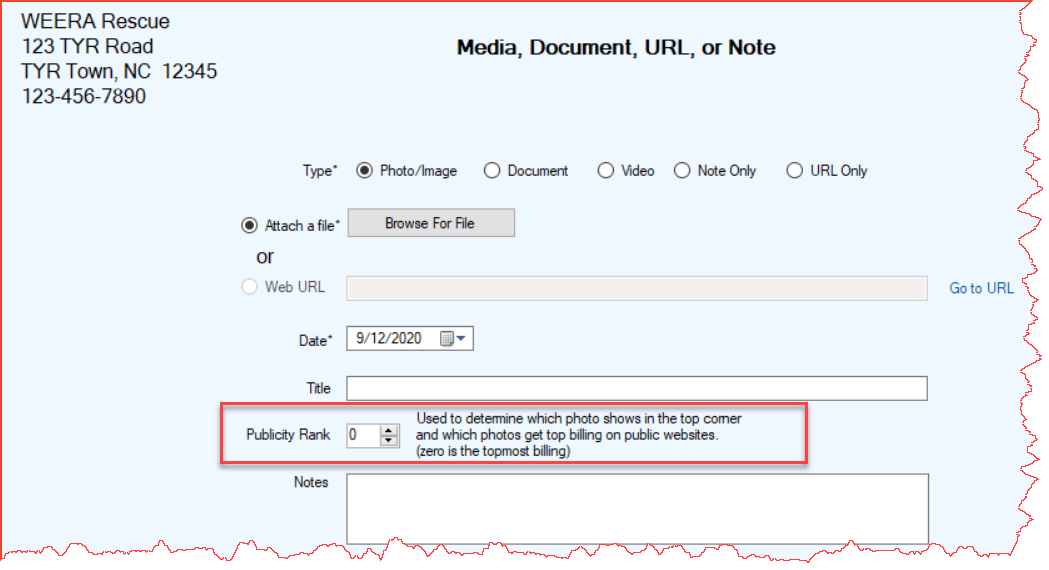
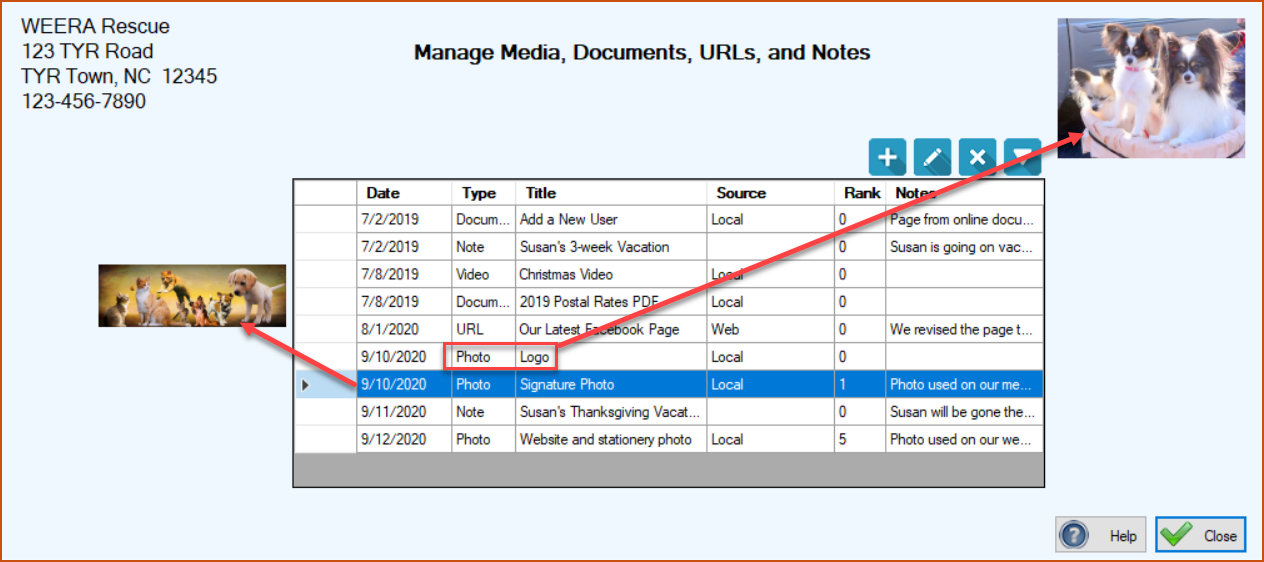
Note: On the Manage Media, Documents, URLs, and Notes screen, a thumbnail appears at the left of the grid for any selected Photo.
9.In the optional Notes field, you can enter a note about the document, video, or photo if you wish.
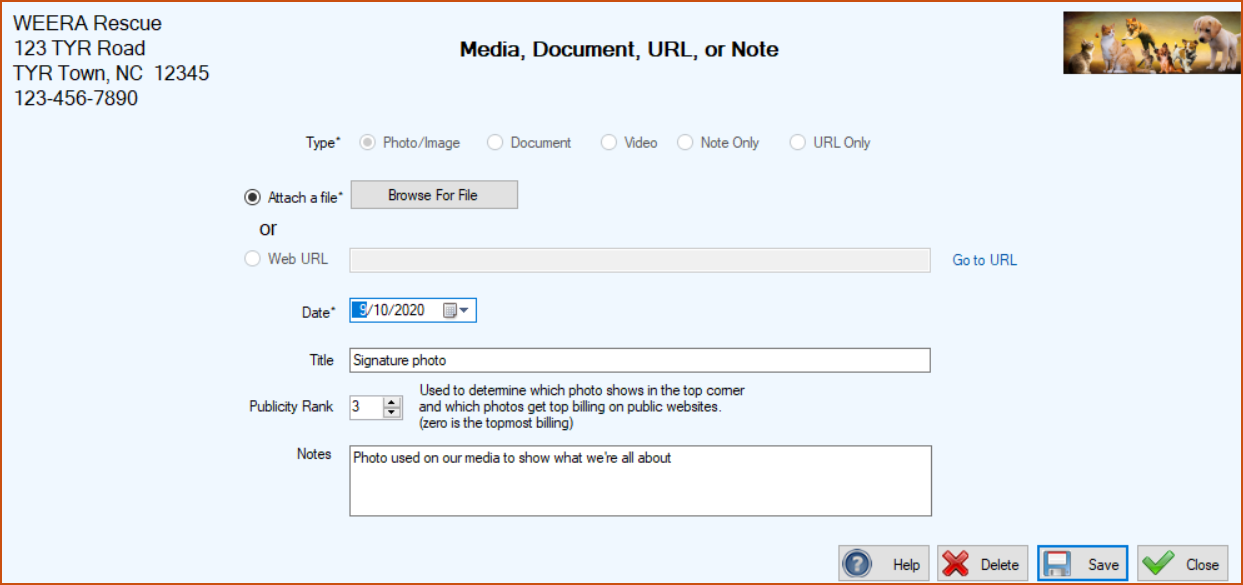
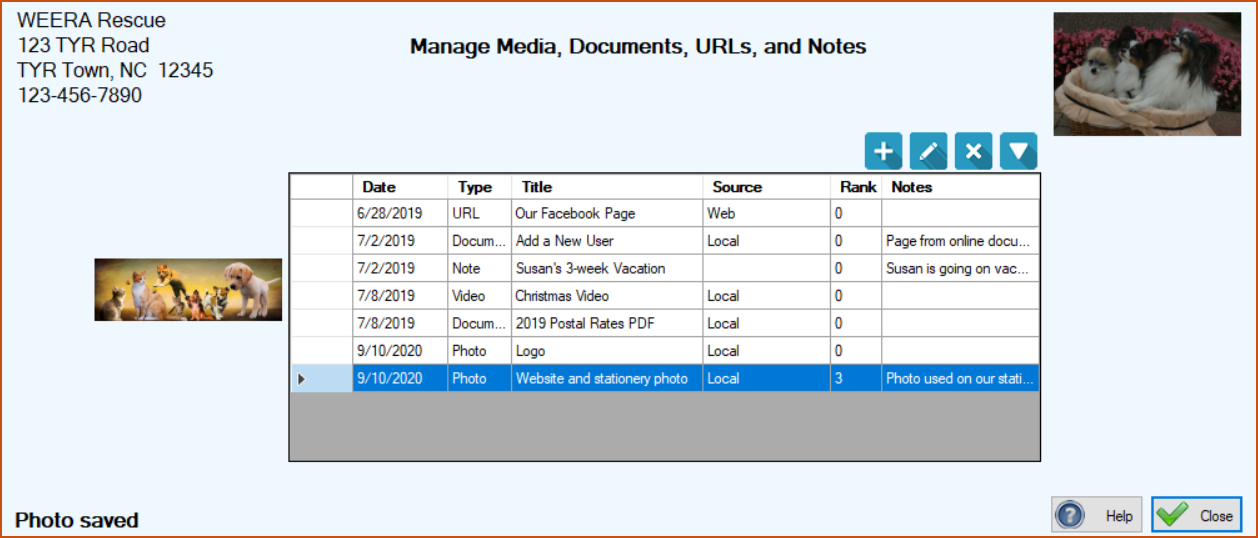
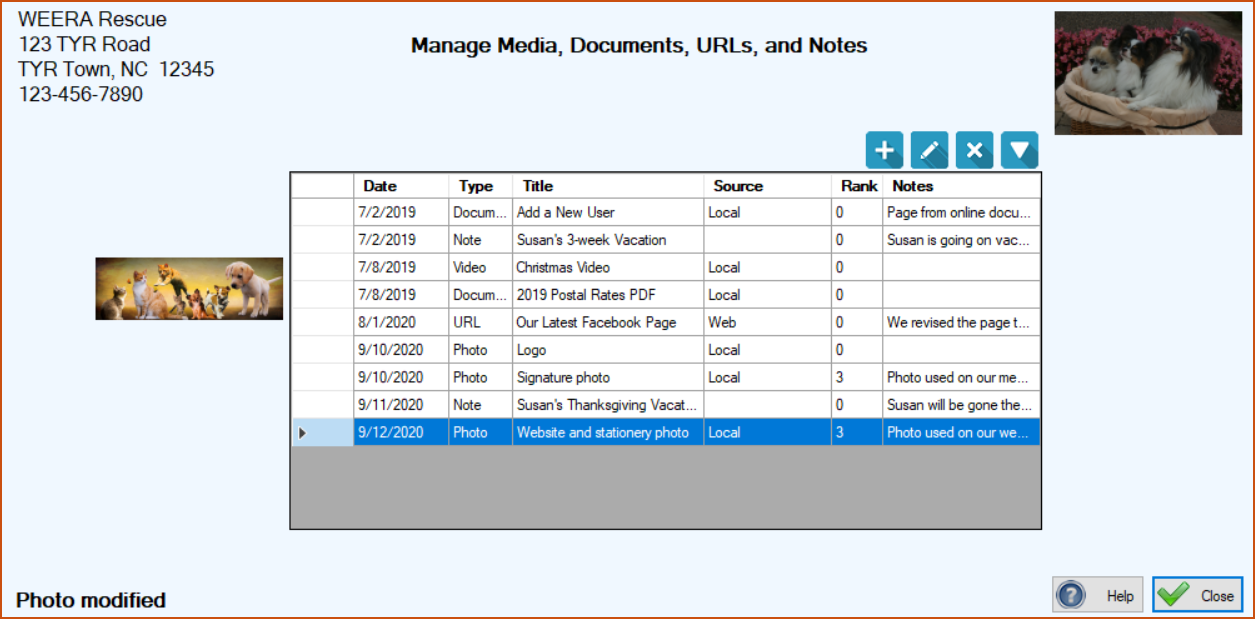
10.Click the Save button. You are returned to the Manage Media, Document, URLs, and Notes screen you saw in Step 1 above, where there is a new row in the center grid displaying the details about the file you just attached, and a confirmation message at the lower left.
Top of page
To Edit Details About a Document, Video, or Photo
1.On any screen with an “Attachments” selection in the Actions dropdown list at the right side of the screen OR a Photos, Documents, etc. button () at the upper right on the screen, select Attachments or click the Photos, Documents, etc. button ().
The Manage Media, Document, URLs, and Notes screen opens, displaying a list of all current attachments.
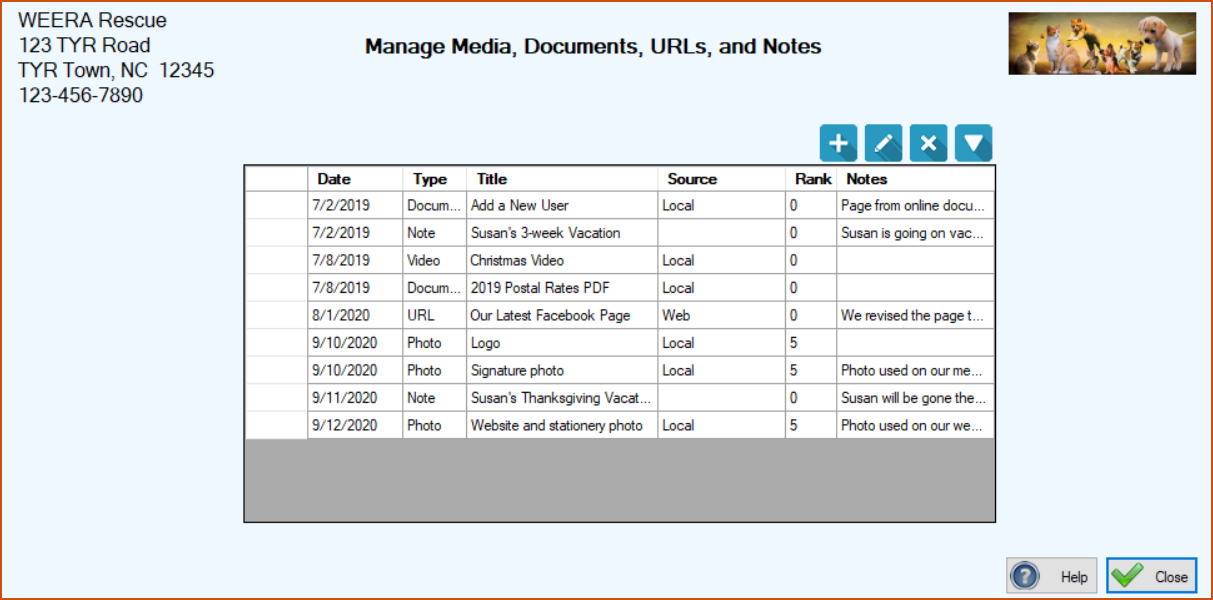
2.In the center grid, double-click the cell at the farthest left of the row containing the item you want to edit. The Media, Document, URL, or Note screen opens. The fields with a white background are editable, based on the type of file you selected.
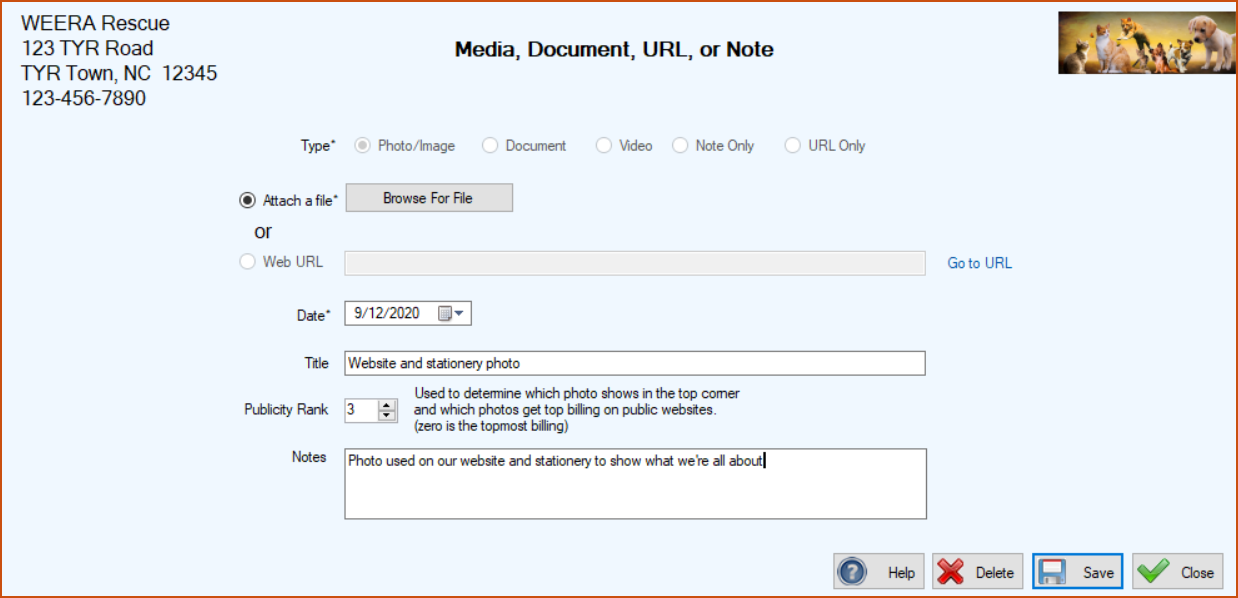
3.Make the desired change(s) and click Save. The Media, Document, URL, or Note screen closes and you are returned to the Manage Media, Documents, URLs, and Notes screen where you can see your changes in the center grid and a confirmation message at the lower left.
To Remove a Document, Video, or Photo
1.On any screen with an “Attachments” selection in the Actions dropdown list at the right side of the screen OR a Photos, Documents, etc. button () at the upper right on the screen, select Attachments or click the Photos, Documents, etc. button () to open the Manage Media, Document, URLs, and Notes screen.
2.In the center grid, select the row for the item you want to delete by clicking the cell at the farthest left of the row.
3.Click the Delete ( ) button. A window pops up to confirm that you really want to delete the item.
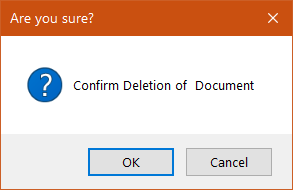
4.To complete the deletion, click OK. The popup window disappears, and the deleted item no longer appears in the grid on the Manage Media, Documents, URLs, and Notes screen, which also shows a confirmation message about the deletion in the lower left corner.