
All TTR screens (also called “windows”) follow a pattern and design that make them easy to learn and use. There are certain buttons that appear on most screens, and the layout of many screens is the same or very similar, including the center grid that appears on several screens. Here we will discuss these conventions so you can become familar with them even before you begin to use TTR.
IMPORTANT NOTES ABOUT CLOSING TTR SCREENS:
1.To exit any screen in the application, use the “Close” button in the lower right corner and not the “X” in the upper right corner.
The “Close” button checks to see if you made any changes and asks if you want to save before closing.
If you use the “X” in the upper right corner, your changes will not be saved.
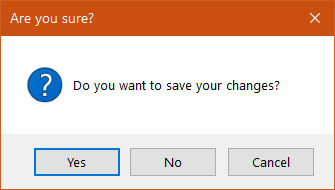
2. If you click the Close button on the Home screen while there are other open screens on which you have entered data but not saved it, one of the unsaved screens will pop up, along with this message :
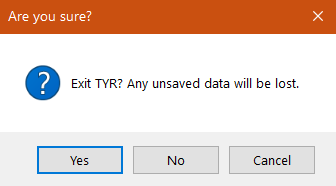
- If you click “Yes,” all screens will close, deleting any data you entered on the unsaved screens, and you will have exited TTR completely.
- If you click “No,” the message above will disappear, leaving the unsaved screen visible for you to complete.
- This process will repeat until you have handled all unsaved screens and can safely close TTR without losing any unsaved data.
General vs Specific Screens
General screens show a list of the records related to that screen’s function, and might also contain several buttons and Actions selections that provide access to specific screens.
Example of a General Screen
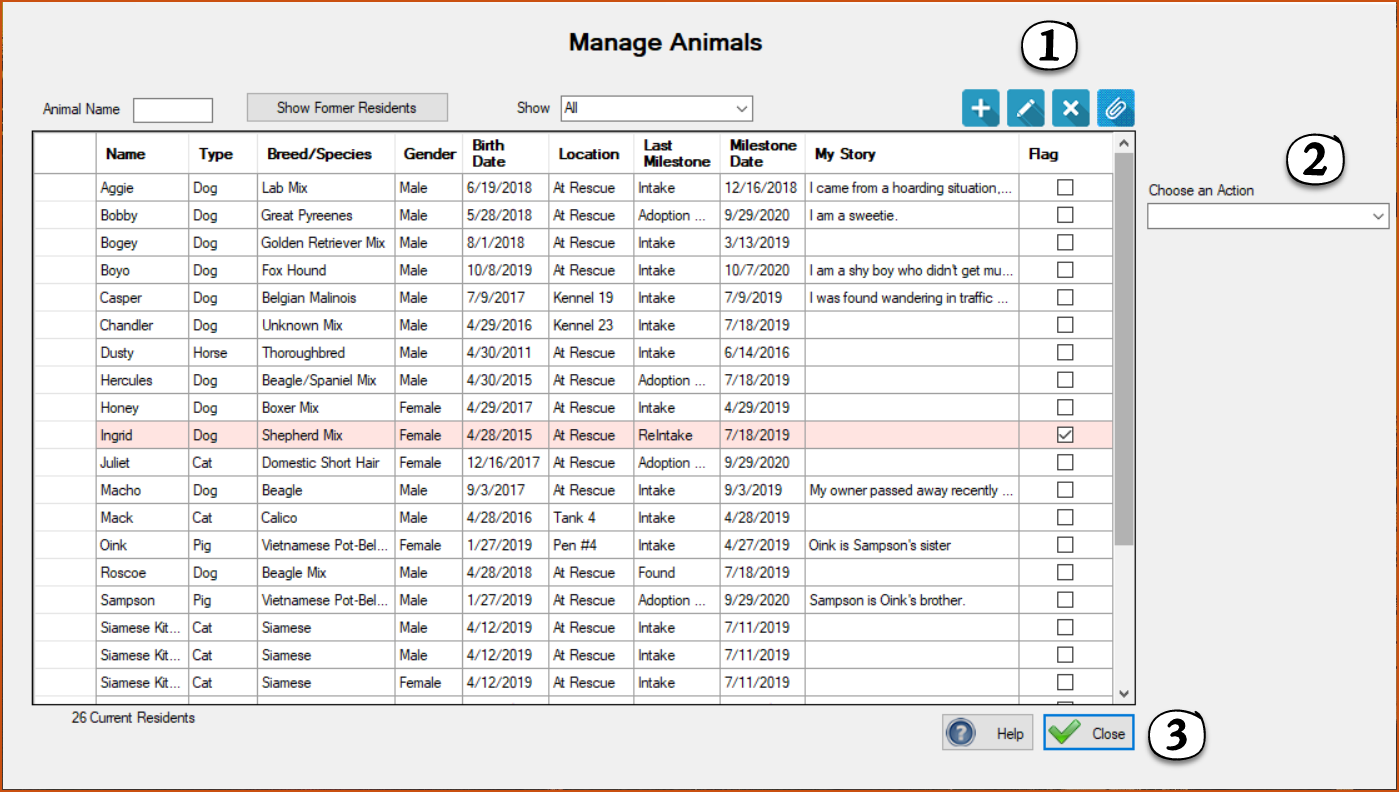
In this example, the screen contains a central grid showing all active records related to that screen’s function, in this case Animals. Surrounding the grid are blue buttons at the top right(1), right side buttons or an Actions dropdown list (2), and buttons at the bottom right (3).
(1) Blue Buttons
One or more of the following buttons appear on many screens in the application. (If you can’t recall what a button does, hover your cursor over it to see a brief description of its function.)
Add – This button launches a screen where you can create a new record of whatever type is associated with the screen you’re on, e.g., new animal, new person, new event, new animal type, etc.
Edit- After you select a single row in the grid below the blue buttons, you can click the Edit button to open a screen containing editable details for the selected item. You can make and save changes to the selected item on the screen opened by the Edit button.
Delete – You can click this button to delete the item you selected in the grid. Before you can complete a deletion, you will be required to confirm your decision. Note: For Animals and PCOs, if there are related records such as donations, adoptions, events, etc., you will be notified in the confirmation popup. In the case of PCOs, you might see a data screen that requires and enables you to transfer that data to another PCO record before you can complete the deletion.
Photos, Documents, etc. – This button launches the Attachments screen where you can: (1) see a list of files associated with the item selected in the grid, and (2) attach additional files of various types, as well as notes and URLs. Click here for more information on Managing Attachments.
(2) Right Side Actions Dropdown Lists and Buttons
Actions on the right side of the grid require a selection of at least one item (row) in the grid. Some actions allow selection of multiple items and some only allow one selection. Actions that allow the selection of only one item have a single asterisk after their names; actions that allow selection of more than one object have two asterisks. If you select more than one item and the selected Action does not allow it, a message to that effect will appear at the bottom left corner of the screen.
(3) Bottom Right Buttons
These buttons are on every TTR screen.
- Help – takes you to the page in the online Help that explains the screen you are currently on.
- Close – closes the screen.
Note: Specific screens might have additional buttons at the bottom right, depending on the screen’s purpose.
Example of a Specfic Screen
Specific screens show information in the upper left corner about the item(s) selected in the grid on the general screen. For an individually selected record, you might also see a photo of the animal or PCO (if available) in the upper right corner.
(Notes: Instructions for adding photos and other attachments are explained in the section entitled Managing Attachments (Documents, Photos, Videos, URLs, Notes.) When you create a new animal or new PCO record, you will see a Browse for Photo button that enables you to associate a primary photo at the same time as you create the new record.)
Bottom Right Buttons
- In addition to the Help and Close buttons that appear on every TTR screen, some specific screens might also have a Delete and/or Save button, depending on the purpose of the screen.
- Save – appears on screens that allow you to enter or change information. Always click the Save button when you make entries and changes.
Note: Most of the time, you can also save your entries and changes by pressing your Enter key. - Delete – appears as an active button on screens that allow you to change or delete an entire record. For example, on the Animal Details screen image above, you can make and save changes to Aggie’s record, or you can click the Delete button to completely remove Aggie’s record.
Note: Other buttons unique to only a few screens are explained in the instructions for those screens.
The Center Grid

Every General screen and many Specific screens have these. To view information or perform any action on an item in the grid, you must first select it.
To select a single row in the grid:
Click the blank cell to the immediate left of the item you want to select. The entire row should become highlighted. If the entire row is not highlighted in a different color, it is NOT selected.
To select multiple rows in the grid:
Click the blank cell to the immediate left of the uppermost item you want to select.
If the other items you want to select are immediately below the first selected item, hold down the Shift key on your computer keyboard and click the blank cell to the immediate left of the lowest item of all those you want to select.
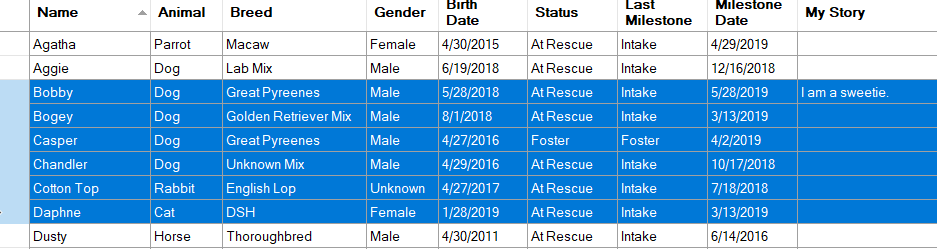
If the other items you want to select are NOT adjacent to the first selected item, hold down the Ctrl key on your computer keyboard and click the blank cell to the immediate left each of the other items you want to select.

To select the entire grid: Double click the blank cell at the top left corner of the grid.
To sort items on the grid: Click the heading of the column to be sorted. The system sorts alphabetical items from A to Z and Z to A and numerical items from lowest to highest and highest to lowest.